How to use Microsoft Bookings
1. Access Microsoft Bookings
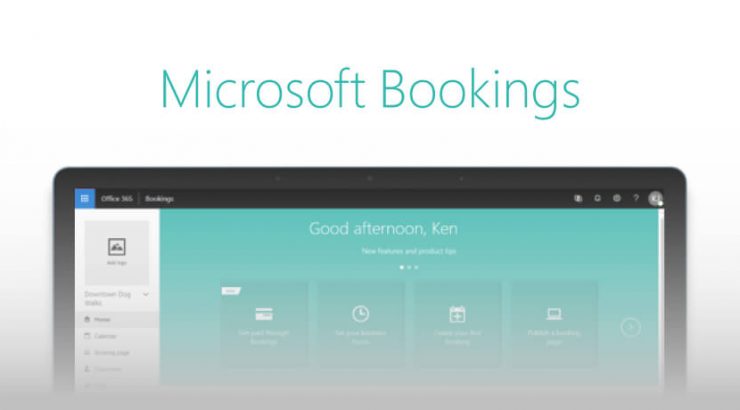
- Go to Microsoft Bookings or from the Microsoft 365 App Launcher (waffle menu).
- Sign in with your work or school account.
2. Create a Booking Calendar
- Select Get started → choose to create a new booking page.
- Give your booking calendar a name (e.g., “IT Support Appointments” or “Customer Consultations”).
- Set your business information (name, address, phone number, logo, and business hours).
3. Add Staff Members
- Under Staff, add yourself and others who will take appointments.
- Choose staff details: name, email, role (Admin, Viewer, or Guest).
- Set each staff member’s working hours and availability.
- Optionally integrate staff members’ Outlook calendars so Bookings auto-checks their free/busy times.
4. Create Services (Appointment Types)
- Go to Services → click Add a service.
- Set details such as:
- Service name (e.g., “One-on-One Consultation”)
- Description
- Duration
- Buffer time before/after
- Price (optional)
- Assign staff to the service.
- Enable online meeting if you want Teams integration (Bookings can automatically create a Teams meeting link).
5. Configure Scheduling Policies
- Under Booking page settings:
- Choose Time increments (e.g., 15 or 30 mins).
- Set Minimum lead time (how soon someone can book).
- Set Maximum lead time (how far in advance someone can book).
- Enable Email notifications to staff and customers.
- Allow customers to manage or cancel appointments online.
6. Publish & Share Your Booking Page
- Click Publish once you’ve set up everything.
- You’ll get a public link you can:
- Share via email or chat.
- Embed on your website or intranet.
- Add to your Outlook signature or Teams channel.
7. Integration Benefits
- Outlook integration: Bookings checks your calendar so you don’t get double-booked.
- Teams integration: Virtual meetings are automatically created.
- Time zone support: Customers see available slots in their local time.
- Notifications: Automatic confirmations, reminders, and updates.
- Analytics: View and export appointment data for insights.
👁 391 views